
The PhpStorm is an integrated development environment (IDE) so rich in features that you need to be trained to learn all of them. Therefore, seeking for PhpStorm tutorials is one of the needs of novice and even experienced programmers. PhpStorm is a professional PHP code editor that makes programming enjoyable. It also speeds up the coding process.
This article is an intensive PhpStorm learning course. Although it is a starting point, the tutorials help you find the right PhpStorm path to learn more things about the software. If you are interested in coding with PhpStorm and want to know its tricks and shortcuts, follow us to the end of the article
What Is PhpStorm?
PhpStorm is an integrated programming environment (IDE) for web and PHP developers produced by JetBrains. This IDE supports PHP version 5.3 and above.
JetBrains PhpStorm is an innovative, multi-platform programming environment that has grown in popularity in recent years. PhpStorm is a complete environment and an excellent choice for working with Drupal, Symfony, Laravel, WordPress, Zend Framework, Joomla, CakePHP, and other PHP frameworks.
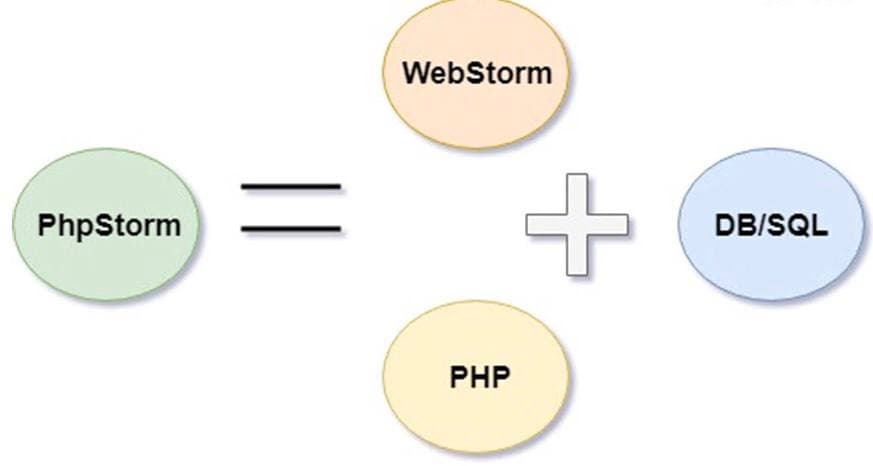
JetBrains includes all the features of WebStorm, as well as full support for PHP and databases in PhpStorm. WebStorm is another IDE of this company designed for JavaScript developers. PhpStorm helps developers understand and easily modify code by providing editable UML class diagrams for PHP code.
Learn more: PHP Programming Languages Infographic : PHP Learning Roadmap
What Languages Does PhpStorm Support?
PhpStorm fully supports PHP, HTML5, CSS, JavaScript and XML. These languages are installed with this IDE and are enabled by default. To use other languages, you need to install plugins.
Follow the path below to install the plugin:
File > Settings > Plugins > Marketplace
PhpStorm Features
As an IDE, PhpStorm provides a professional programming environment for web and PHP developers. This environment has many valuable features, some of which are as follow:
Complete Environment for Development:
Most PHP developers work with HTML, CSS, JavaScript, and other programming languages in addition to PHP. PhpStorm makes it easy for PHP developers to work with all programming languages, using services such as auto-completion of code and syntax highlighting.
Supports Multiple PHP Frameworks:
If you work with PHP frameworks, PhpStorm is an excellent choice for you. This IDE is effectively compatible with many frameworks such as Laravel, CakePHP, Symfony2, Yii, etc.
Integrates Version Control Systems:
PhpStorm fully supports a wide range of version control systems. The most important version control systems are Git and GitHub, which Programmers can execute their commands within the PhpStorm IDE.
In addition, PhpStorm supports FTP well and can upload code to a remote server in seconds.
Database Support:
PhpStorm provides many helpful tools and features for working with SQL and databases in your projects. This IDE connects to databases, edits table data, executes queries, and even analyzes patterns with UML diagrams.
Debugging and Testing Code:
Zero-configuration debugging makes it easy to fix applications. Using Xdebug and Zend Debugger, you can profile the programs and check the information collected in PhpStorm. PHPUnit also supports the development and execution of unit tests.
The Minimum System Requirements to Install PhpStorm
PhpStorm is an application with various tools and features that need a minimum system requirement to perform optimally:
- 2 GB of RAM
- 4 GB of free space
- Image resolution 768 * 1024
- 64-bit operating system:
Windows 8 and above
McAvoy 10.13 and above
Linux Any distribution that supports KDE, Gnome, and Unity DE.
Learn more: How to Make Money Programming PHP
PhpStorm Setup and Installation:
PhpStorm is a paid software that JetBrains offers with a 30 days free trial. To download and install this IDE, just go to JetBrains and download PhpStorm suitable to your operating system.
Here are the steps of installing and running the software:

Step 1: Once you have downloaded the software, run it and click the Next button.

Step 2: Choose the installation location and click the Next button. You can also install the software in the default installation folder.

Step 3: Simply keep clicking on the Next button. To create a shortcut on the desktop, enable one of the desktop Shortcut options based on your operating system (32-bit or 64-bit.)

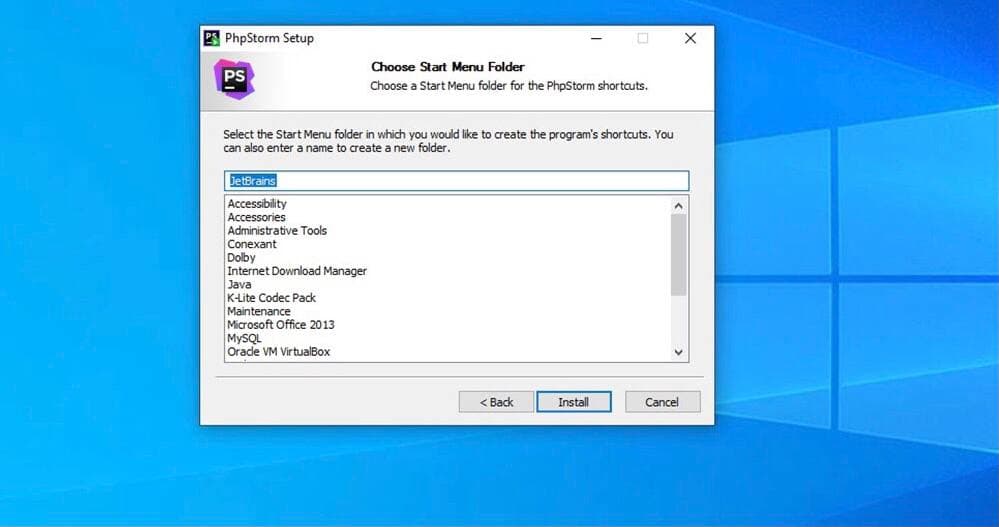
Step 4: Select or enter the name of the Start Menu folder to create the application shortcut. This name is JetBrains by default. Now click the Install button to begin the process of extracting the files and installing the program.
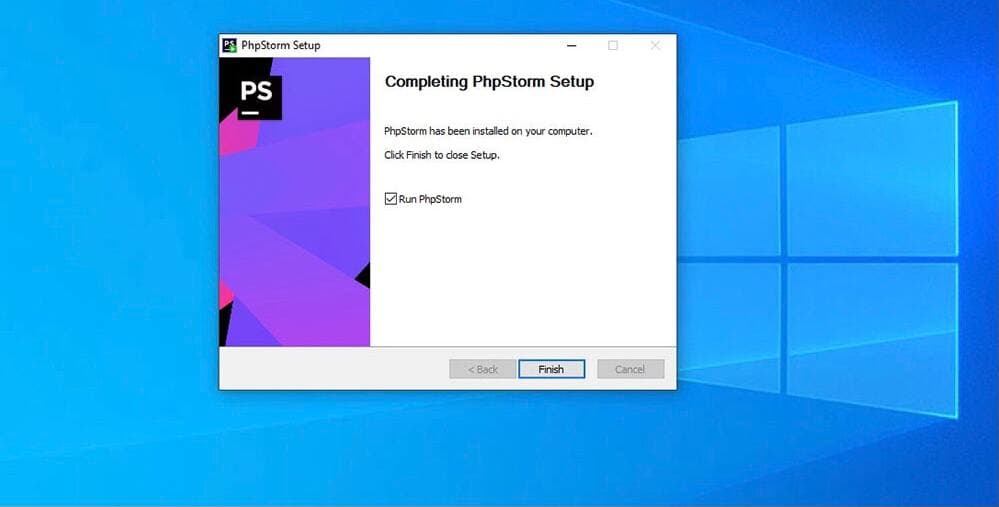
Step 5: After the files have been successfully extracted, enable the Run PhpStorm option and click the Finish button to complete the installation process.
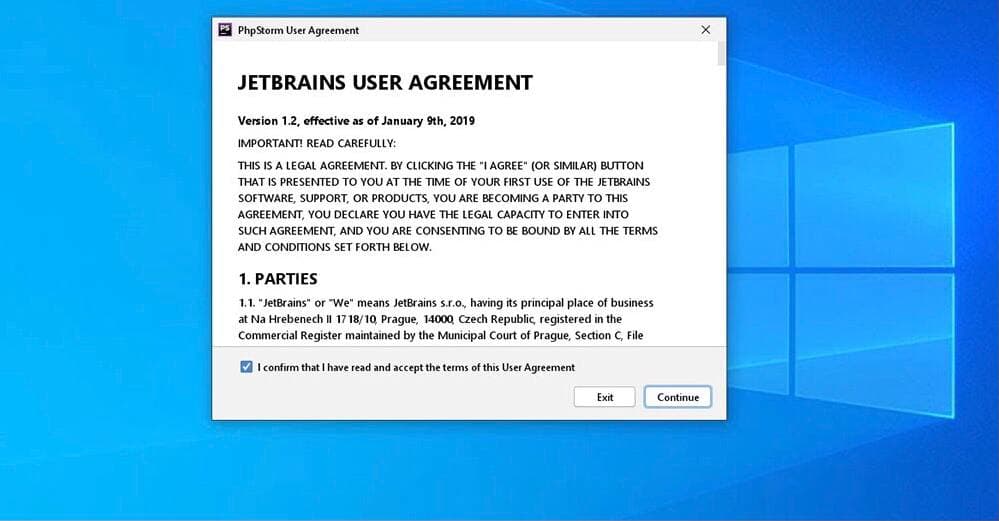
#Step 6: Accept the JetBrains Privacy policy and click the Continue button.
#Step 7: In the last step, to activate the 30 days free trial, select the “Evaluate for free” option and click on the Evaluate button.

Installation is complete.
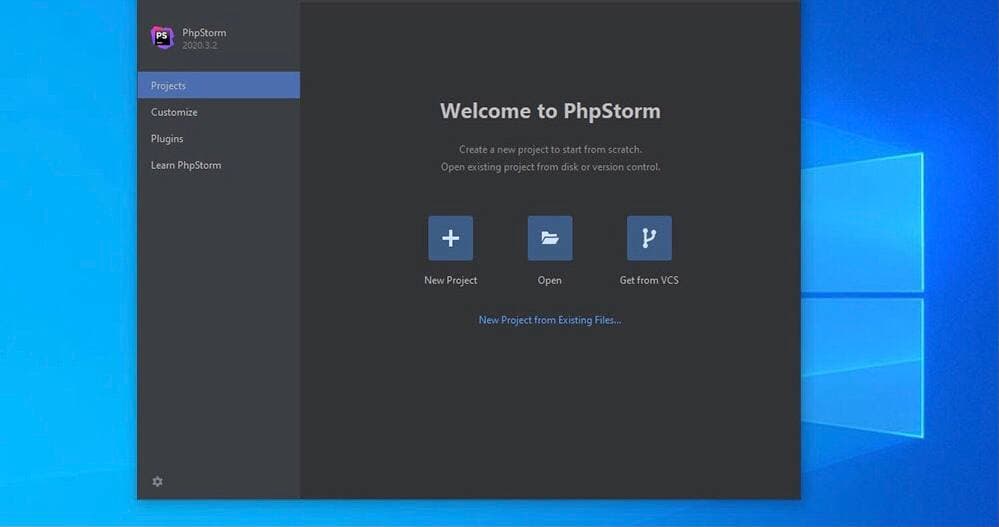
Now, the trial version of PhpStorm is successfully installed on your PC. You can create a new project and get started with PhpStorm.
PhpStorm Tutorial: Settings
PhpStorm User Interface
As you can see in the image below, the PhpStorm homepage consists of various parts:

1. In this section, there are some menus and toolbars that help you execute various commands.
2. Navigation bar for navigating through the project.
3. Status bar to insert information about the current project, file in the editor, error messages, or alerts.
4. Code editor, where you write your code. With the ability to open multiple files and move between them through tabs.
5. A window of various tools, which does different things:
- Search and navigate project and file structures
- View search results and hits
- Run, debug and test applications
- Work with the terminal
Tracking changes in Codes
In the local history of PhpStorm, changes made to the source code, the results of code reconstruction, etc., are automatically tracked. Unlike conventional version control systems, local history is always enabled.

To view the local history of a file or folder, follow the path below:
File> Local History> Show History
Here you can check for changes, reset them with the Revert button, or create a patch with the Create Patch button.
Running the Project in PhpStorm
Step 1: Create a new project with PhpStorm, specify where to save it, then click the Create button.

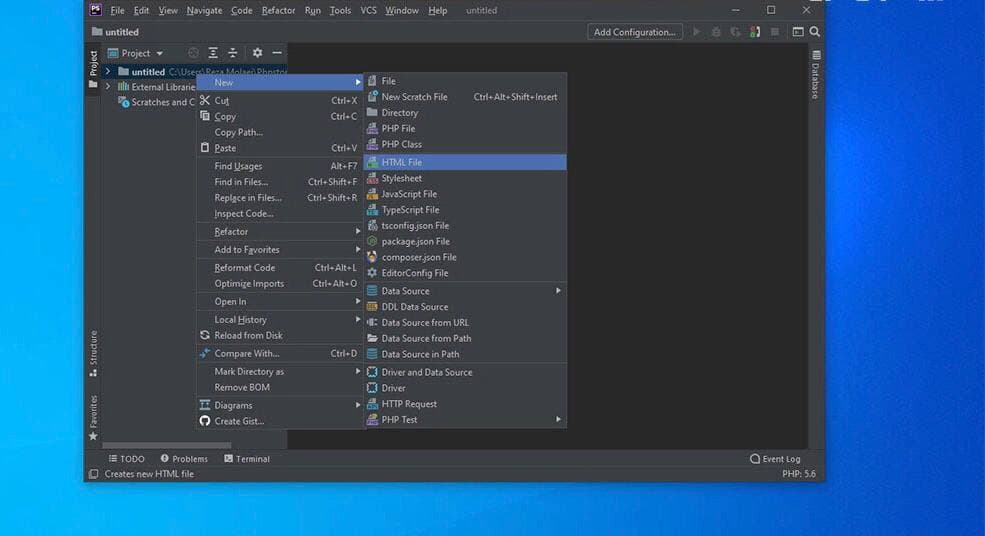
Step 2: Right-click on the projects you created and in the “New” option choose one of them. Here we select the HTML File.
Step 3: Set a name for the Html file and double click on one of the available file types. Here, we chose the title “myfirstprogram” and the type HTML5.

Step 4: Write the HTML code you want and run it in the browser. Like the following code:
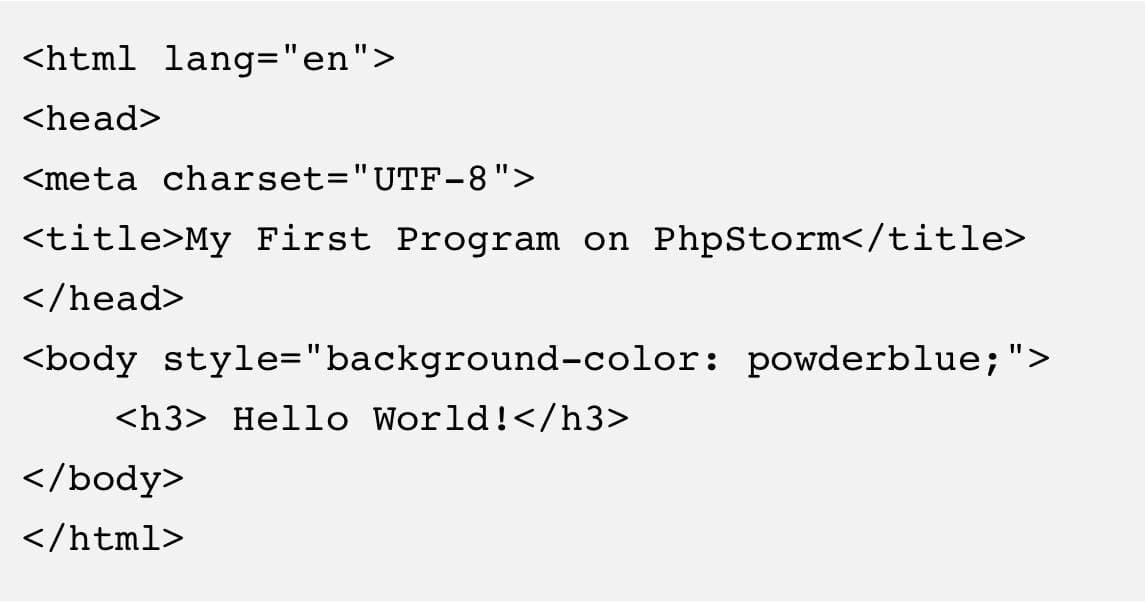
Step 5: The image below shows the output of the above codding:

Installing Laravel through PhpStorm
To install Laravel, you must have PHP on your system. Since PHP requires a server, most PHP developers prefer to create a local web server on their computer instead of using an Internet web server. For this purpose, you should use software such as Wamp, Xampp, etc., which each include PHP, Apache server, MySQL database, and other features to turn the pc into a local webserver.
To learn more about the PHP preparation process and how to install Xampp, read this article.
After installing all essentials, install Laravel in the following steps:
#Step 1: First run PhpStorm and select New Project from the available options.
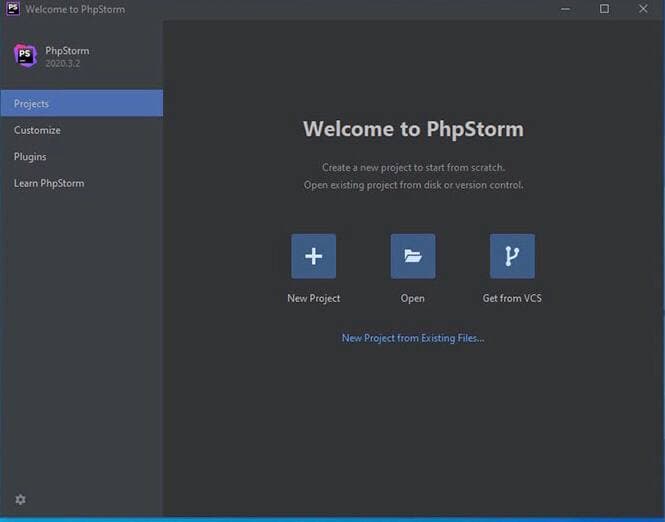
#Step 2: In the New Project window on the left, click on Composer Project.

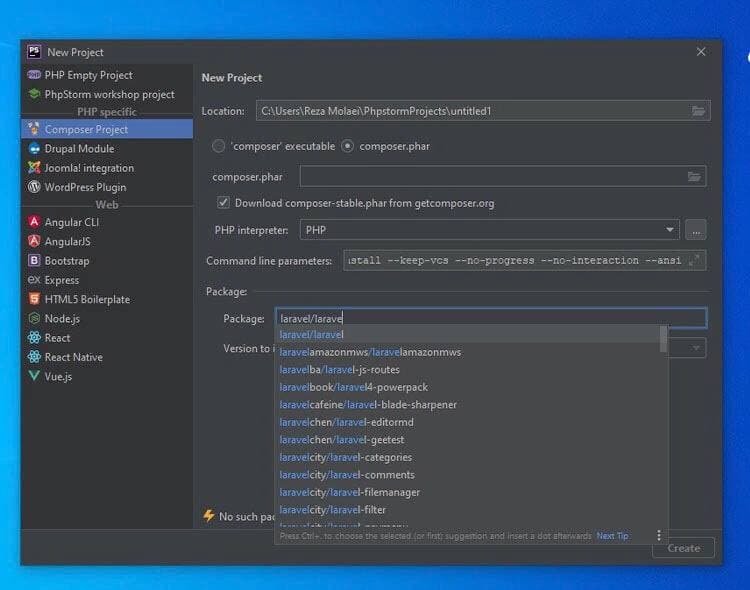
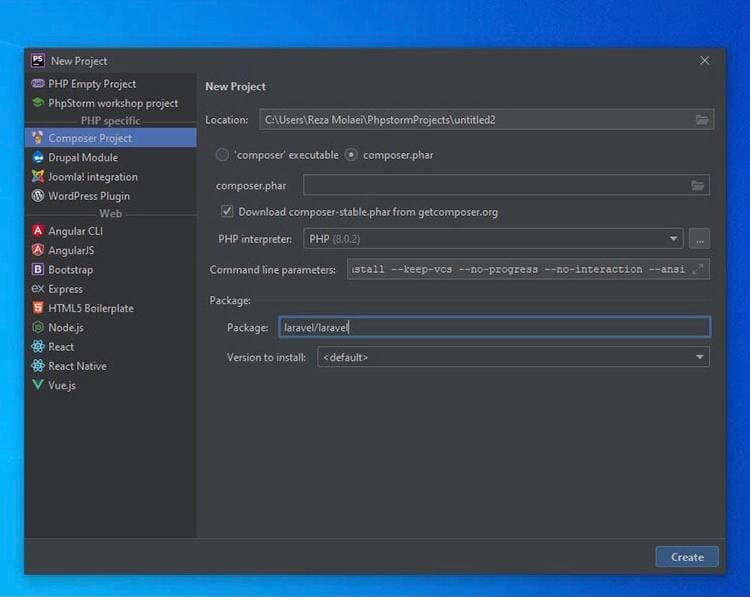
Step 3: In the Location field, enter the destination folder and the desired name. Select the “composer.phar” option, and enable the “Download composer-stable.phar.”

#Step 4: In the Package option, type the name of the Laravel package as laravel/laravel and select it from the existing list.
Step 5: Now, click on the Create button and wait for the download and installation process to be completed.
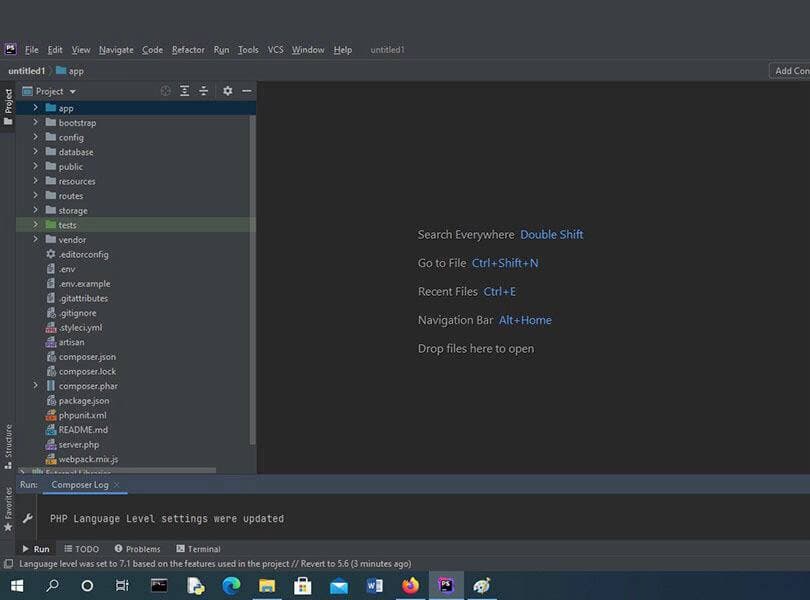
#Step 6: After the successful Laravel installation, you can see Lavarel files and folders, in the project section.
#Step 7: Now, if you type “PHP artisan serve” in the PhpStorm terminal, Laravel will start working. The port 8000 in front of the local address will be assigned to see the Laravel project.
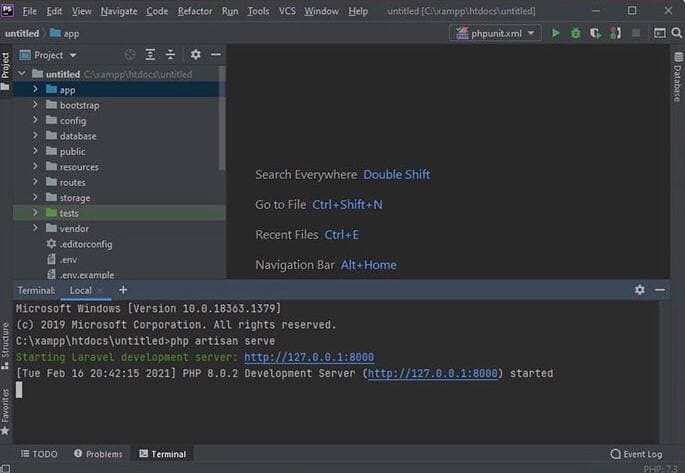
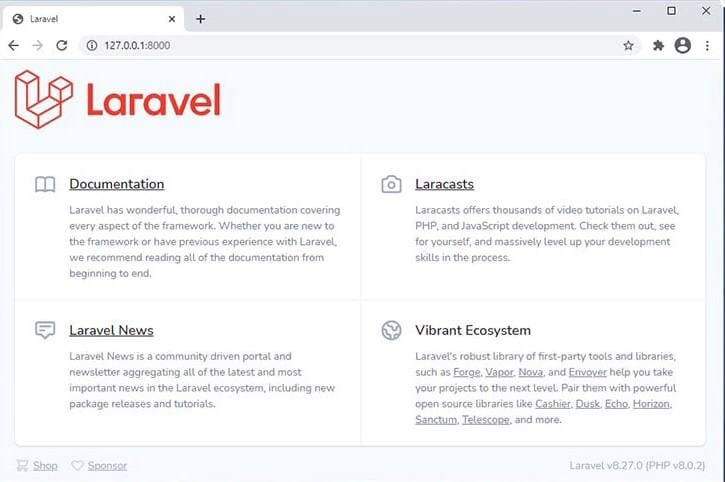
Step 8: If you enter the address http://127.0.0.1:8000 in the browser, you can simply launch Laravel and see the welcome page.
Learn more: Laravel Vs. WordPress; Which One Is Better?
PhpStorm Personalization
Changing the Background Color
PhpStorm background color depends on the selected theme. However, some users prefer to choose it by themselves. To do this, follow the path below:
File> Settings> Editor> Color Scheme> General
You can select the color you want from the Scheme slider, as you can see in the following picture:

Then apply the changes by clicking the APPLY button and close the settings window by clicking the OK button.
Furthermore, you can personalize many items here, which you can see the full description of them in the PhpStorm documentation.
Changing the Font in PhpStorm
One of the benefits of using an IDE is that you can personalize it. As an IDE, PhpStorm is not an exception. One of the customizations you can make is to change the font, as well as its size and color. Follow the steps below to customize the font:
#Step 1: Select settings from the File menu.

#Step 2: From the menu on the left, click on Editor and then Font.

Step 3: As you can see, at the top, there are options to change the font appearance, and at the bottom, there is a section that shows the changes made.

#Step 4: If you enable the “Show only monospaced fonts” option, only MonoSpaced fonts will be visible to select. Letters and characters of these fonts each occupy the same amount of horizontal space. In programming, MonoSpaced fonts are used to organize and adjust the code appearance.
In the Size section, you can change the size of the selected font. The larger the font, the more readable it is. However, it also takes up more space. So you should choose the font size so that it is readable and you do not have to scroll the pages constantly.
“Line spacing” changes the distance between two lines of code. The larger the number, the greater the line spacing and vice versa
“Fallback font” specifies a font for symbols that are not supported by the original font.
After applying the desired changes, click the Apply button to save the changes. Then close the Settings window by clicking the OK button.
Changing the Font Color
In code editors, the legibility of code is provided by assigning different colors to each of the variables, arrays, functions, comments, and so on. Each IDE and editor assigns different colors and fonts to different programming languages. PhpStorm also has its color scheme. Furthermore, this software allows you to change colors according to your taste. To change the code colors, follow the path below:
File> Settings> Editor> Color Scheme
Here, you can try different items and assign your favorite color to each of the fonts.
