
Developing Android applications requires an environment for coding and executing commands. Android Studio is an IDE (integrated development environment) that allows Android developers to build their applications. Android Studio is one of the basic and most important IDEs that Android developers should learn. Since this environment is dedicated to Android programming and provides all the features that an Android developer needs, Android Studio seems to be more user-friendly than other android IDEs and code editors. This article will discuss Android Studio tips, installation and tricks.
What Is Android Studio?
In short, Android Studio is a programming environment developed for Android developers. JetBrains produced this software for Google and launched it at the Google IO conference on May 16, 2013. The first official version of this software was introduced in December 2014. Almost all Native Android programmers and developers use Android Studio software to develop their applications.
Android Studio provides the developer with many features such as running an Android emulator, displaying databases within the application, debugging the application, coding by several languages, etc. Hence,That’s why it is the most popular IDE for Android programming among developers. Here are some features of Android Studio:
- A flexible Gradle-based build system
- Integrated environment for developing Android applications on different devices
- Fast simulation and various features
- C ++ and NDK language support
- Powerful tools and frameworks for testing
- Updating the code and running it on the app without having to reinstall the emulator or the actual device
- Offers several profiling tools to help find and visualize potential problems
- Different software version compatibility
Android Studio Installation Tutorial
So far, we have learned what Android Studio is and what its uses are. This section teaches you how to install this software on both Windows and Linux operating systems. Note that, due to its many options and functional capabilities, the software requires a relatively robust system for smooth running. In the following, we will examine this issue further.
System Requirements for Android Studio
As mentioned in the previous section, Android Studio requires a relatively high configuration PC or laptop. Here we provide the system requirements you need to install and use Android Studio.
CPU: Most Android Studio features involve CPU usage. Also, the software emulator requires a CPU with VT-x capability. As a result, the CPU temperature may arise during the process. You need Intel Core i5-8400 3.0 GHz or better.
SSD: SSD has the most critical role in using Android Studio. Project building is a time-consuming operation, and doing it with HDDs is really tedious. Make sure you have an SSD drive to use Android Studio. However, a 128 GB SSD may be enough.
RAM: Running the emulator on Android Studio requires a good amount of RAM. Make sure you have the right amount of RAM.(4 GB RAM minimum; 8 GB RAM recommended)
GPU: Finally, note that using a suitable graphics card can improve the speed and performance of the emulator.
The Linux operating system uses fewer hardware resources than Windows. So if your operating system is not very powerful, you would better use Linux instead of Windows.
Install Android Studio on Windows
In the first step, you need to download the installation file. To do this, visit the official Android Studio website and Download the Linux compatible version.
After downloading, run the file as shown below. Then, click Next.


Check the Android Virtual Device and click Next to go to the next step.

Specify the software installation path and then click Next.

Click Next again
Now the process of extracting Android Studio files begins. Click Next after completing the operation.

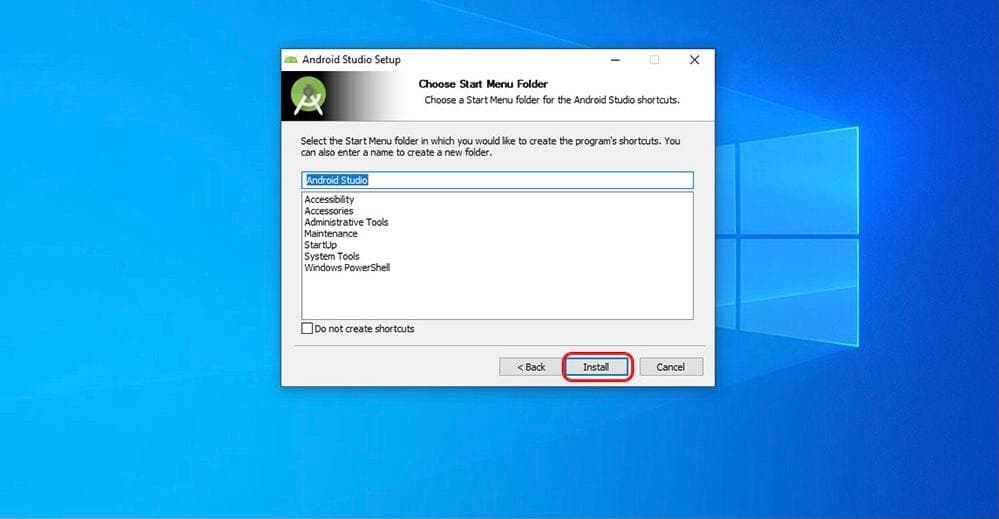
Finally, check Start Android Studio and click Finish.

At this step, you can restore the settings you already used in your Android studio. However, if it is the first time you have installed this software, select the Do not import setting option as shown below and click Ok.

On the Welcome Screen, click next

Set the installation type to Standard and then click Next.

Choose the application theme. As you can see in the picture, we use a dark theme. Click Next.

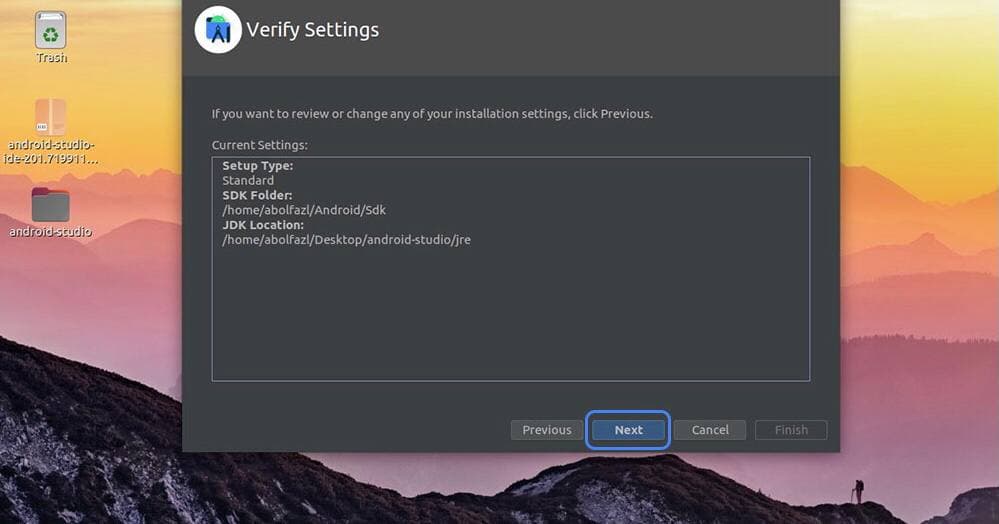
In this window, you can see the location of SDK and JDK. Click Finish.

The installation is complete. Enjoy working with Windows Studio.
How to Install Android Studio on Linux
Installing Android Studio on Linux is a bit more time-consuming than Windows. Here are the steps you need to follow to install Android Studio on Ubuntu.
Click on this link to download Android Studio for Linux. Fortunately, this software doesn’t differ for different versions and distributions of Linux. The downloaded file is shown in the picture below.
Open the file and click on Extract:

In the opened window, select your desired destination and then click Extract. (We have chosen the desktop as the Extract path here.)

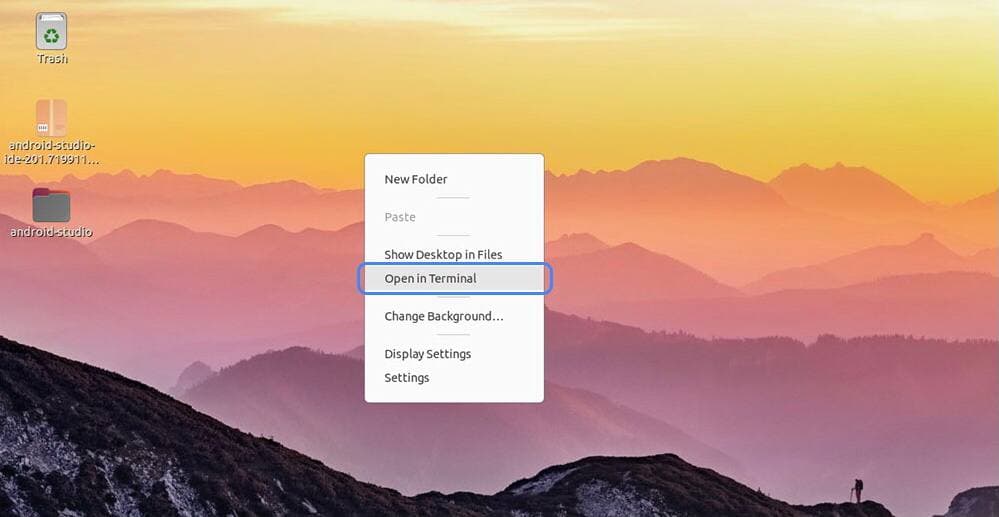
As you can see, the Android Studio folder is created at the destination. Then right-click on the desktop and select “Open in Terminal” as shown.

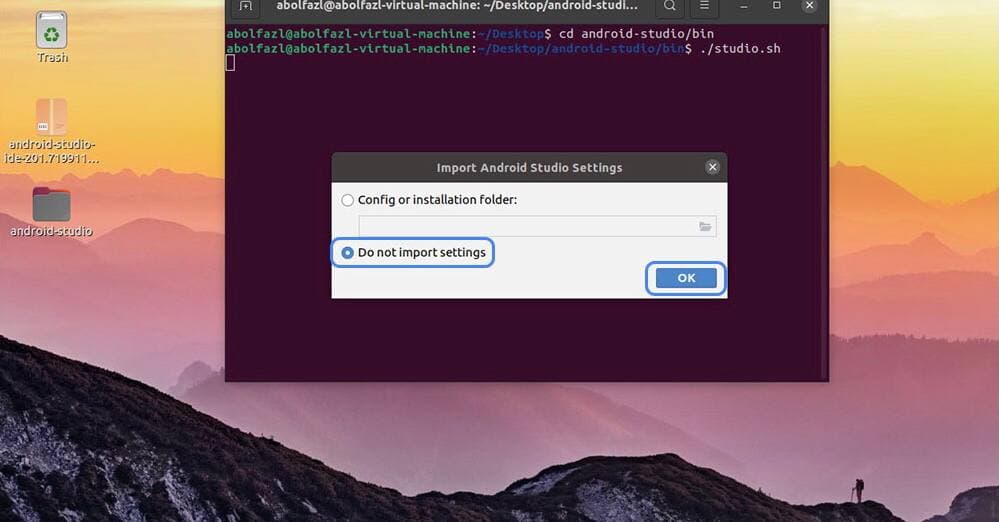
In the Linux terminal, enter the following commands in order:

After executing these commands, the Android Studio Setup file will run.
restore your settings
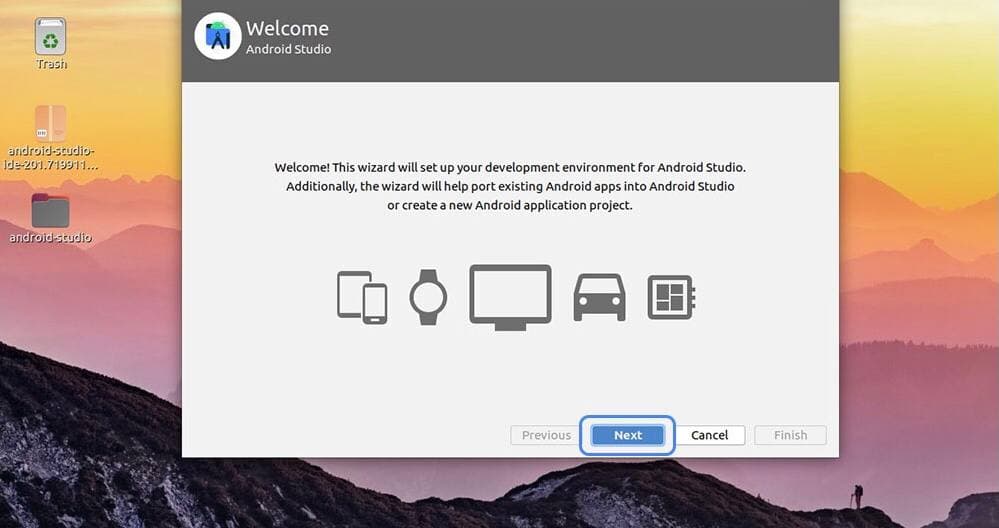
If you have already used this software on Linux, you can restore your settings by choosing the “Config or Installation folder” and then select the desired folder. Otherwise, check “Do Not Import Setting” as shown below and then click Ok. You see the welcome page of Android Studio. Click Next.
Select the Standard option and go to the next step by clicking Next.

Here you can select the theme you want and go to the next step. As you can see in the figure below, we have chosen the Dark theme.

In this section, you see the installation path of SDK and JDK. Click Next.
Make the settings for launching the Android emulator in Linux by clicking on the “Configuration Hardware Acceleration Option for the Android Emulator.” Click Next. Wait for Android Studio to download the required files as well as the SDK.

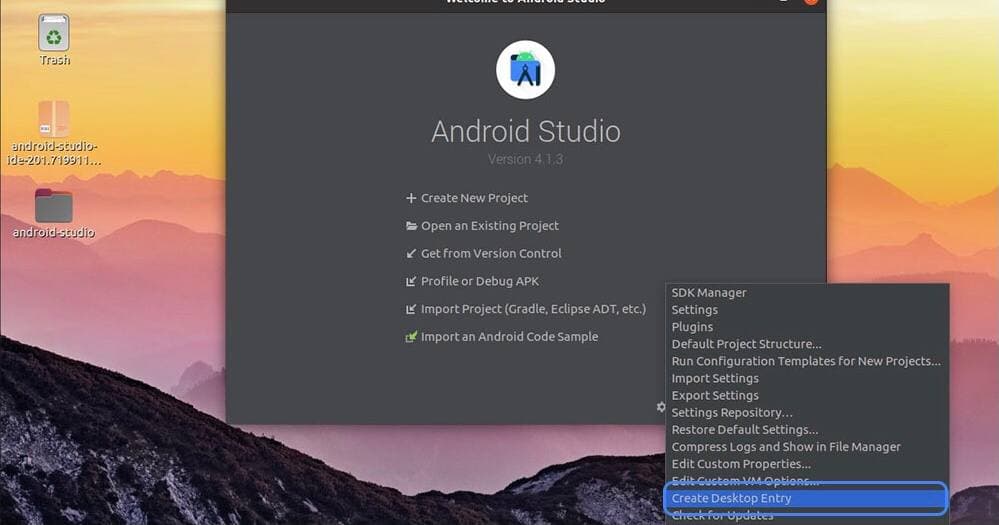
After downloading the SDK and installing Android Studio, the installation process is complete, and you can click on the finish option as shown above. However, you need to add its icon to the Linux software for easier access. To do this, as you can see in the figure below, click on the Configure option.

Select “Create Desktop Entry” from the window that opens.
If you want to add the icon for other users of the operating system, select the relevant checkbox and click Ok.

Finally, as you can see in the picture, the Android Studio icon becomes visible in the list of applications.

Starting a New Project in Android Studio
To create or develop an Android application, you must first create a new project in Android Studio. Note that the Android Studio version we used in this tutorial is 4.1.3.
When you open Android Studio for the first time, you will see the following page. On the opened window, click on “Create New Project,” as shown below. The following page is displayed for you:

In the “Phone and Tablet” section, select the “Empty Activity” option and click Next.

In this section, you specify the project specifications:
Name: In this field, you select the name of the project.
Package name: In this field, you set the package name.
Save location: Here, you specify the project storage location.
Language: select the language you want to program the application, which can be Java or Kotlin. (You can use both languages)
Minimum SDK: Specify the minimum version of Android to install the application.
Use Legacy android. Support library: By checking this option, you will specify whether you want to use the old library mentioned or not.
After specifying the project information, click Finish.

Wait a while for the project to be built by Gradle.

Your project has now been successfully created.
Essential Plugins for Android Studio
Plugins that are used on editors and IDEs are so popular among developers. They make coding easier and enjoyable for programmers.
Here, you can get acquainted with some of the best Android Studio plugins.
Material Ui Theme
Using this plugin, you can apply and use different themes on Android Studio. Material Ui Theme is free and provides you with numerous themes. Using this plugin, you can select different colors, icons, code colors, etc., for the software depending on your taste.
Json to Kotlin Class
As the name implies, it is used to convert Json files to Kotlin data classes. By copying Json text and pasting it into this plugin, you can turn it into a Kotlin data class in Android. You can also enter the relevant URL to the plugin to perform the conversion process.
Codota
Sometimes you need to code fast, but the IDE does not give you good suggestions. The Codota plugin allows programmers to use the learning machine to display the correct coding suggestions. This plugin syncs with most programming languages. So if you need fast coding, why not use Codota?
Name That Color
When naming colors in the colors.xml file, it happens that you do not know what name is appropriate. In such cases, this plugin can help you. Using this plugin, you can simply paste the color code, select the color name with this plugin and name it.
CodeGlance
Like XCode software, you can use this plugin to see an overview of the code of a class on the right side of the page. You can also use this plugin to scroll to any part of the class code.
ADB Wifi
In some cases, the developer needs to run the software on an actual device. To do this, you need to connect the Android device to your system using a USB cable. This plugin makes this process easier. You can easily connect the device to the same Wifi that the system uses. Now, Android Studio can easily use the device.
Effective Android Studio plugins do not end here. With more research, you can find and install many other plugins based on your need.
Install the Plugin in Android Studio
Follow the steps below to install plugins in your Android Studio:
In the first step, click on the Settings option in the File menu.
Then, select Plugins from the list on the left.
There are several sections in this window, including:
Marketplace: In this tab, you can see all the plugins available for Android Studio. You can also search for the desired plugin in the search box.
Installed: In this tab, you will see the installed plugins.
Install: After selecting the desired plugin (as you see in the image), click on the Install option and wait for the plugin to get downloaded and installed on Android Studio.
After installing the plugin, click Ok. If necessary, restart Android Studio once. Enjoy your plugins.
Practical and Key Tricks of Android Studio
If you want to make coding easier in Android Studio, you need to use some tricks. In the following, we are going to learn a few of them.
Finding Errors in the Classroom
It may be challenging to find and fix an error among thousands of code lines. For this, Android Studio has defined a shortcut that leads you to the line where there is an error. For this purpose, you can press the F2 key in the desired class and be directed to the exact line that has the error.
Copy and Paste a Line
To copy and paste a line in Android Studio, scroll to the line you want to copy, then press CTRL + D. You see that the line is copied and pasted in a lower line.
Delete a Line
You can use the CTRL + Y combination to delete a line. This shortcut removes the line where the mouse cursor is located.
Extract a Line in a New Method
Using the CTRL + ALT + M shortcut key, you can remove a line from a method and paste it into a new one. To do this, select the desired line and press the shortcut key. In the window that opens, type the name of the new method and click Ok. You see that a new method has been created, and that line is in it.
Standardize Your code with Style Codes
Thanks to Android Studio, whenever there is a problem with the text and writing style, a yellow line is displayed below the code, or the whole text turns yellow. You can press CTRL + ENTER shortcut key to use Android Studio suggestions. In the small menu that opens, you will see tips. You can apply it to your code by selecting the desired offer.
